Welcome to The OCD Plug

Check back regularly for discounts and new products!

Bundle and Save!

15% off 2 OR MORE ITEMS!

BUNDLE15

PPF Pillar Protector

Installation Instructions

Difficulty:

Installation Time:

 5 Minutes per Pillar

Supplied

Lint Free Cloth

Spray Bottle

Applicator Squeegee

Not Supplied

Baby Shampoo

Water

Optional

Larger Spray Bottle

Drying Towel or Microfiber Cloth

For best results, please perform the installation on one pillar at a time.  

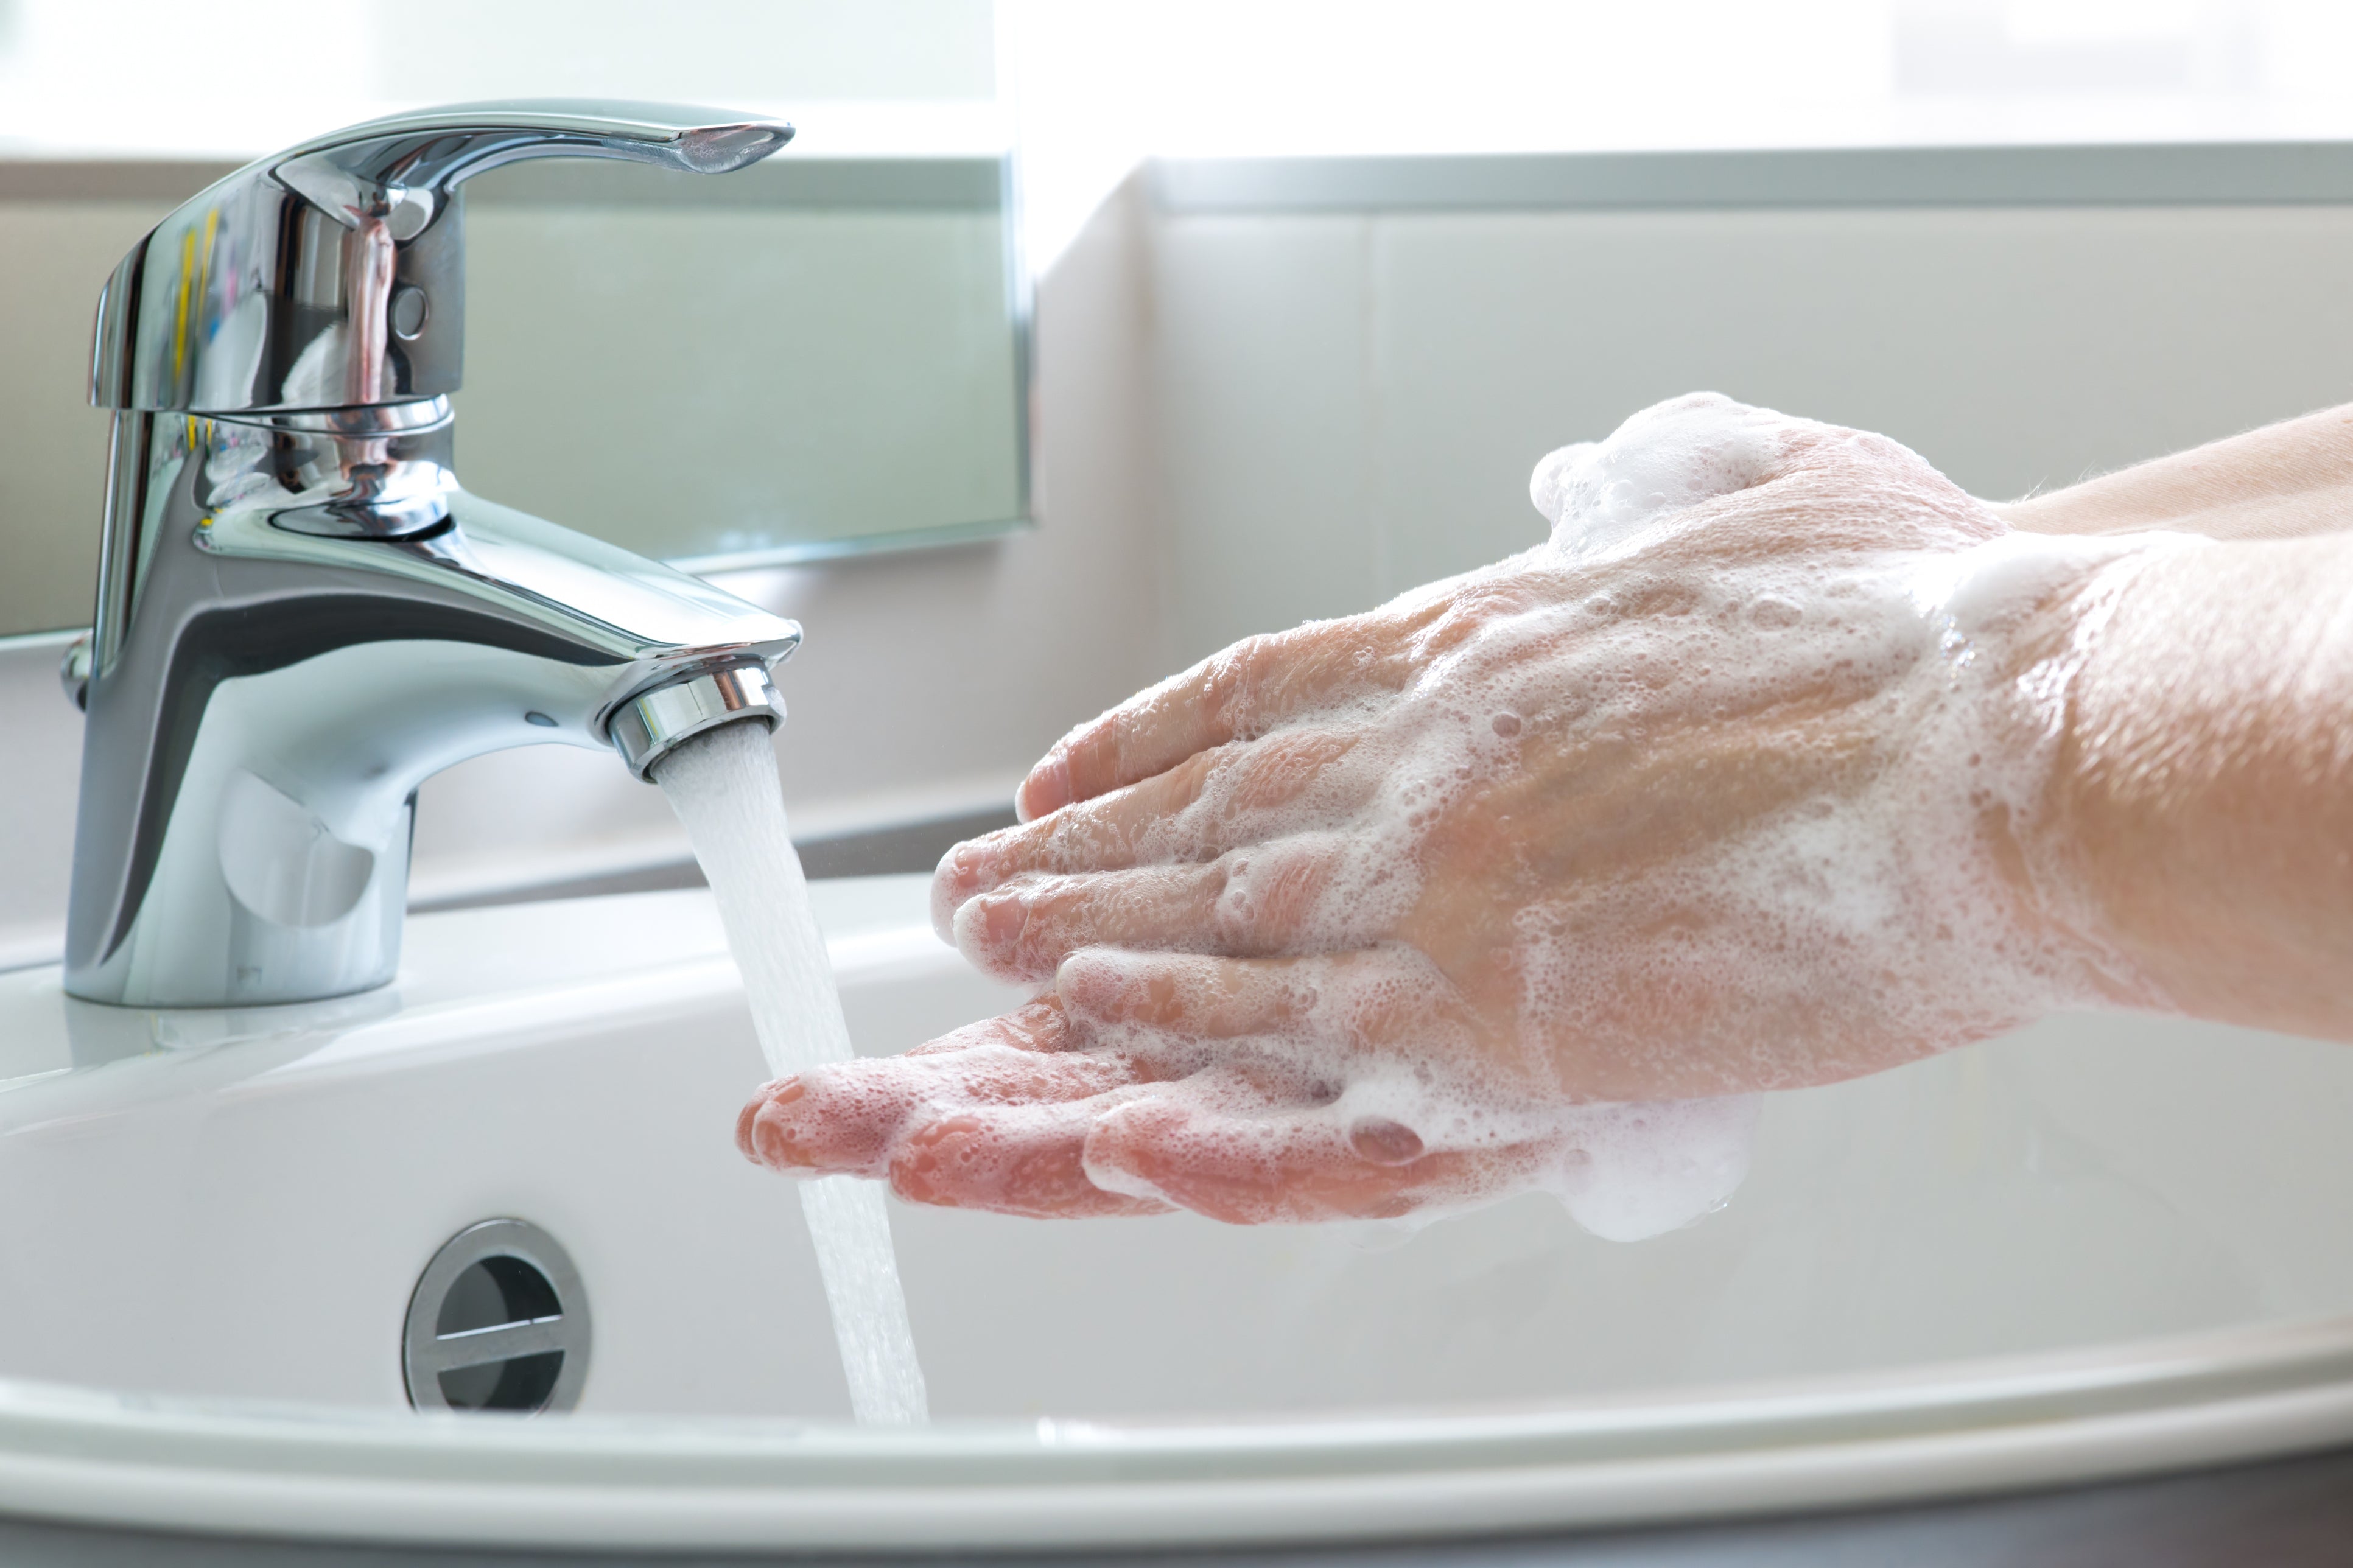
1. Prepare the Slip Solution and wash your hands

Fill the bottle with water, leaving enough room to shake, add 3-4 Drops of Baby Shampoo. We use Johnsons, but any baby shampoo will work.

This step is not optional

"The film will not slide if soapy water is not used. This will result in misalignment and a lot of bubbles."

Wash your hands

You will be touching the adhesive side of the material. Any oils on your hands will affect the integrity of the adhesive.

2. Clean your pillar and all surrounding areas.

The pillar protector adhesive will attract any dust or dirt it comes in contact with. It is imperative that you pay special attention to remove any dust or dirt from the pillar and surrounding areas. Any dust, lint, hair, fuzz, or dirt will show up as a bubble on your new pillar protector.

3. Carefully remove the film from the backing

Spray your fingers with the soapy solution and gently peel a corner of the film from the backing. Spray the adhesive side as you remove it.

4. Spray the film and your pillar

With the film in one hand, spray your screen with the solution. Since the outside of the vehicle is not sensitive to moisture, it can be dripping wet. The supplied bottle does a great job at this but a larger bottle may be easier to work with. 

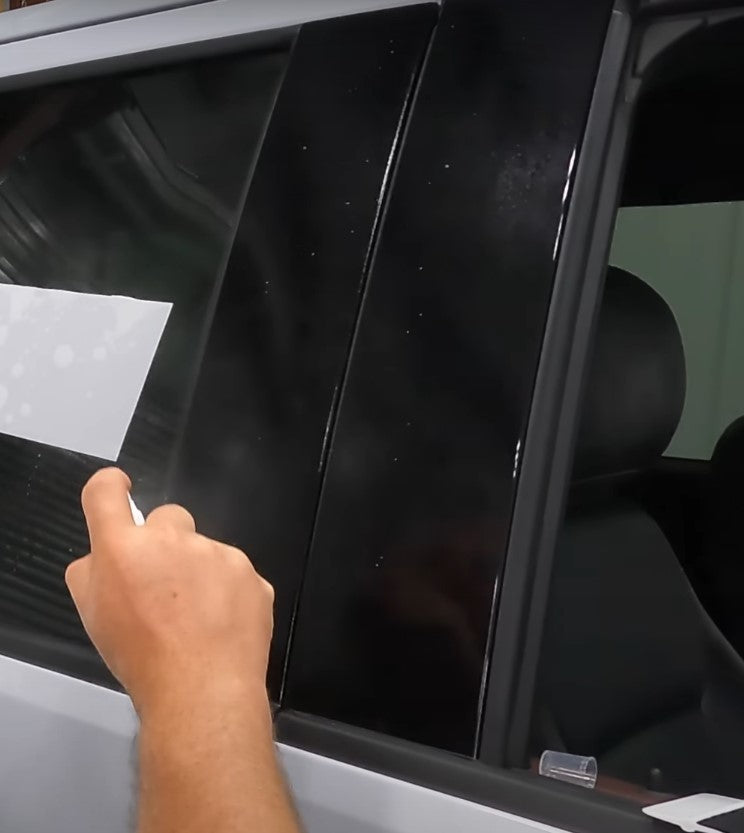
5. Apply the film to your pillar being careful to minimize contact with surrounding areas

Click here if you have a protruding Keypad 

If you have a protruding keypad as found on 2015+ Ford F-Series trucks. You will need to gently wiggle the film around the keypad prior to centering the film. You goal is to get the film to lay under the bezel of the keypad. If your keypad is smooth and nested in the pillar, this step does not apply.

Video Thumbnail

Your pillar and pillar protector are now riddled with tiny droplets of soapy water. Gently place the pillar protector on your pillar. The water droplets will disperse and form a barrier between your screen and the film. 

6. Center the film on the pillar

The film will now slide freely allowing you to easily get it perfectly centered. 

A .5 mm gap is designed in to the pillar protector. This is to make installation a little bit easier. If you align the pillar protector along one edge, the gap will be doubled on the opposite side and the film will appear to be too small. I am showing a rectangle here but the point is the same. 

7. Squeegee out the water working towards an edge.

Hold the film in place with one hand while using the felt side of the supplied squeegee to push the water out. A lot of pressure is not necessary. 

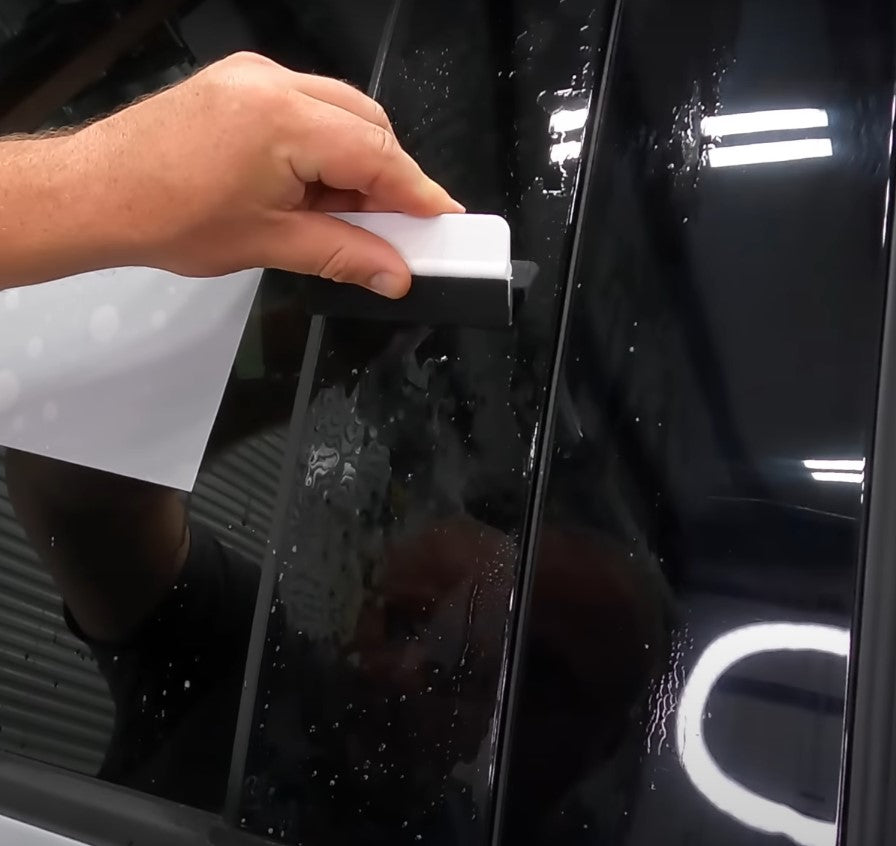
Keep an eye on alignment

The film may want to slide around while you are swiping. This is normal. You can continue to align it while swiping. Work Fast, once the moisture evaporates it will lock in place. If this happens, simply remove the film and start over.

8. Gently dry your pillar and surrounding areas

Using the supplied cloth, gently wipe the screen being careful not to shift the alignment only wiping from the center out and paying special attention to any edges or cutouts.  

9. Repeat for each pillar 

Go back to Step 2 and repeat for each pillar.

Pillar Protector FAQ

I have a lot of bubble, did i mess up?

Bubbles are fairly common if this is your first time. Small bubbles will subside with time and heat once the moisture evaporates. If there are large bubbles you can take a sharp needle and pop the bubble if you care to do so. If the bubble did not go away or left a poor result, file a warranty claim at the bottom of this page. 

I may have botched the install and the film is not centered. What do i do?

Misalignment is rarely an issue with the wet installation method. If you feel like it is not aligned well and you can do better. You have a few minutes to peel the film off and start over before the glue begins to activate. If the film is ruined in any way, File a warranty claim for a free replacement.


The film does not appear to fit properly or the cutouts are not lined up. Can i get a replacement?

If you feel this is a fitment issue, please submit a claim and let us know the issue in the comment section. Keep in mind, You must attach a photo with your claim. This is fairly common with the Ford F-Series Pillars. More on that here. (Coming Soon)

Removal Instructions

Our adhesive is heat sensitive. For a clean removal, please allow the panel to completely cool. Peel a corner and hold slow constant pressure down and away. The adhesive will release slowly leaving nothing behind. 

Warranty Claims / Returns

Tired of waiting for reply emails? So are we! 

As always, all Warranty claims are 100% FREE to our customers.


We now provide a seamless Warranty/Return process. Please click the button below to be taken to our Warranty/Return Portal. SImply enter your email and order number then follow the prompts.

Submit a Claim

Please read to the end before you begin